How to Create Branded GIF's for Your Social Platforms in Less Than 5 minutes!
Ever want to have gifs of yourself for your personal brand or business? The whole process may seem like a lot but it actually isn’t. Take your personal brand to the next level and follow this step-by-step process on your phone for FREE!
Some people think you need to upload it to Giphy and get approved to have it available through Instagram. But you don’t need the whole world to access your gifs, just you. If you wanted to give access to everyone this would go that route. However, this way is so much simpler and takes about 5 minutes, if that!
Step one
Take a video of yourself on your phone doing all the gestures you want to have. Be sure to pause in between every gesture to be sure you have a beginning and an ending. Think a quick 3 seconds or each gesture.
Step two
Take that video and segment out your videos. Edit the video to make new clips of each gesture. Be sure to SAVE AS A NEW CLIP otherwise you will lose the others you created in that original video. Do this for as many gestures as you have so you have short clips or each gesture ready to upload.
Step Three
Go to UNSCREEN.COM from your phone and upload a video. If you do this from your laptop or desktop computer they will ask for payment to process the video. They try to get you to use the pro version and get a better high-quality gif for $2.99 or a monthly charge if you want to do a ton of these. But if you do it from your phone it’s FREE! So test it out first before deciding whether you want to pay for a better quality version of your gifs.
Step 4
Select the video clip and upload it to UNSCREEN. If will process and then give you a transparent video of yourself. Yay! Just what we were looking for.
Step 5
Scroll down and underneath the gif, you will see a download button. Click Download and then it will ask you if you want to download the gif. Select DOWNLOAD. In the top right corner, you will see a blue down arrow in a circle next to the URL display bar. Click that to download the gif.
Step 6
Now it is time to save the gif to your phone. Click in the same area Top right-hand corner of your phone and click on the blue up arrow in the box. Then Scroll up the menu below the image to SAVE IMAGE. And Voila! The new gif is saved to your phone’s photo library.
Step 7
Open your phone’s photo library and go to the gif you just saved. Select COPY PHOTO.
Step 8
Open up Instagram and Paste it into your stories. There you have it! A personally branded gif to use in your stories.
***Bonus Step***
To keep track of all your branded gifs, add them to your album on your phone. That way you can easily access and find them to use in your Instagram stories.
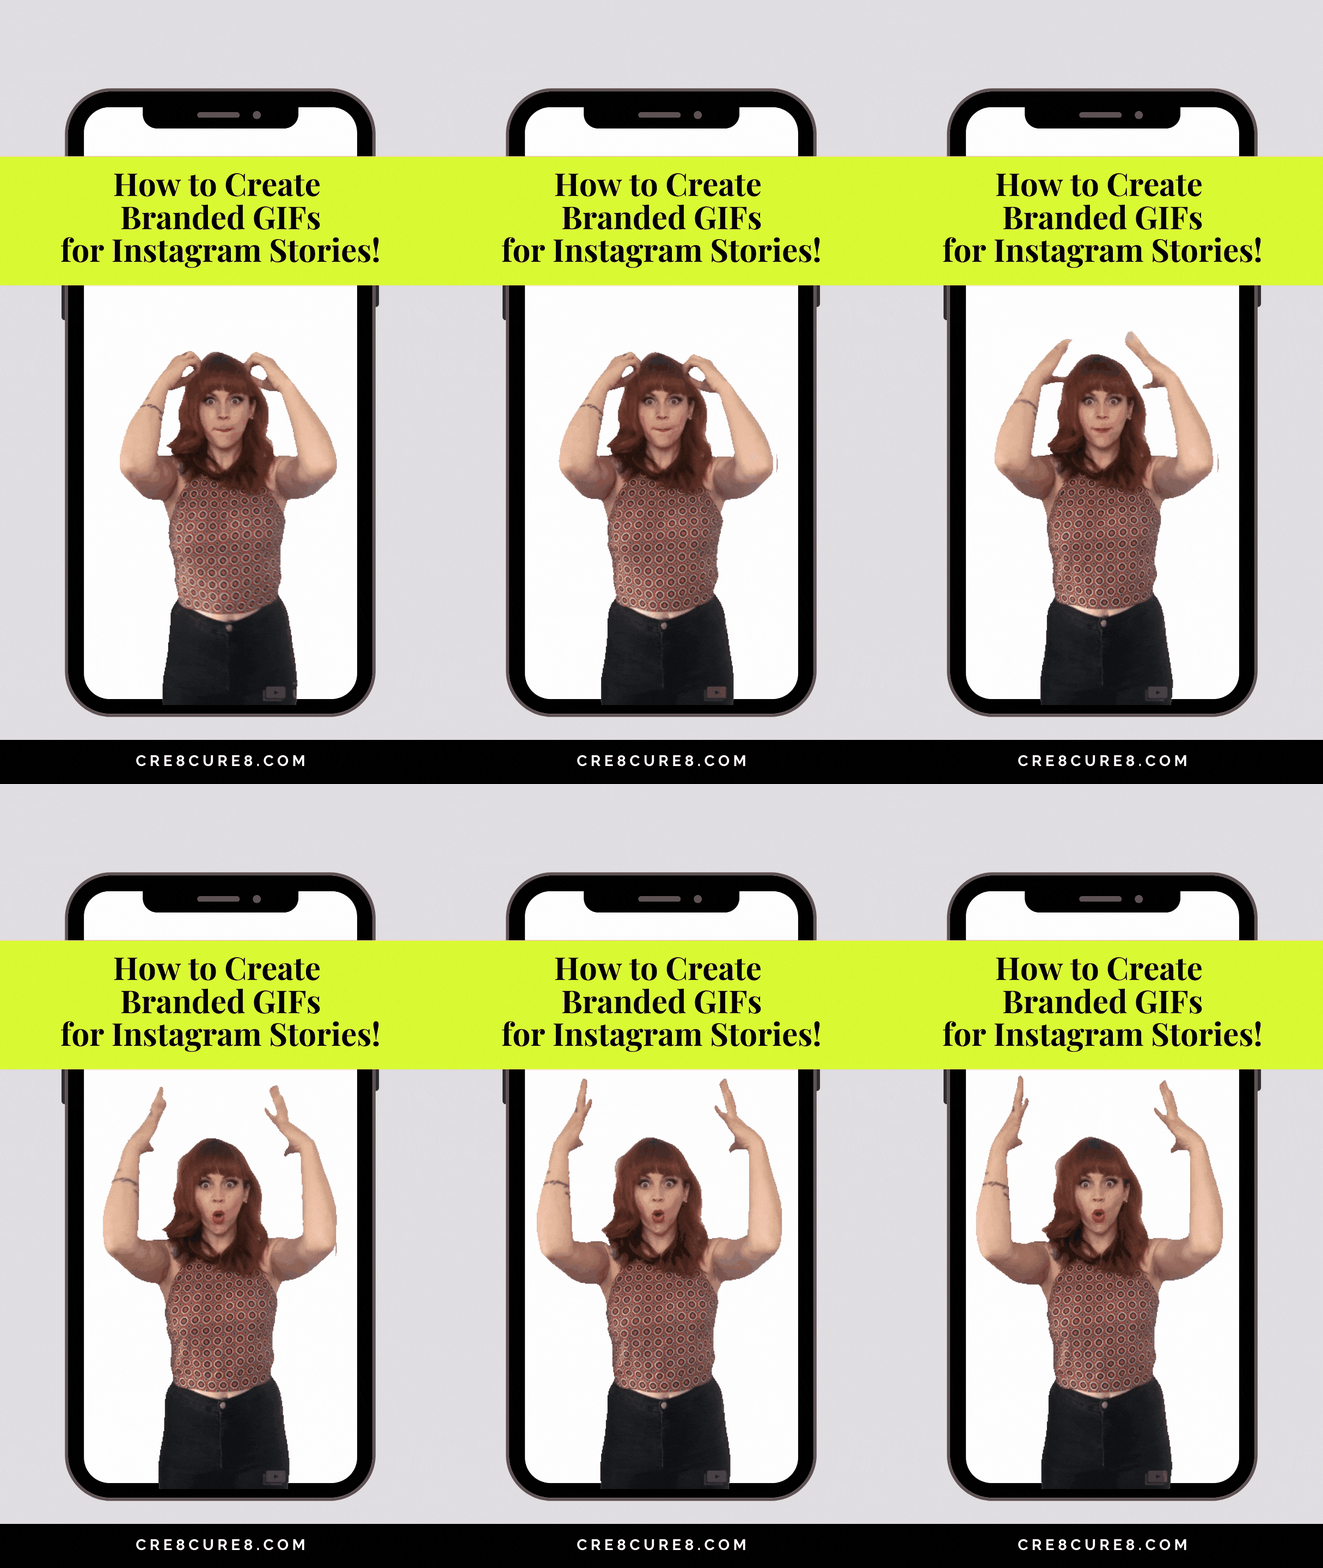
Here are some gesture ideas to record: Pointing and looking up, a thumbs up, an excited face, mind blown with hands on your head, shaking your head no, a sly smile shaking head yes, drinking a cup of tea, the list can go on and on. Just look and see what gestures you normally use and recreate them for yourself!
I hope you found this very easy and helpful. It’s a great way to add more brand recognition to your stories without it being a huge undertaking. Tag me in your stories with your new animated gif of yourself so I can see what you created, @cre8cure8.
Happy GIF-ing!
SAVE IT + PIN IT


